Understand the basics of setting up subscriptions
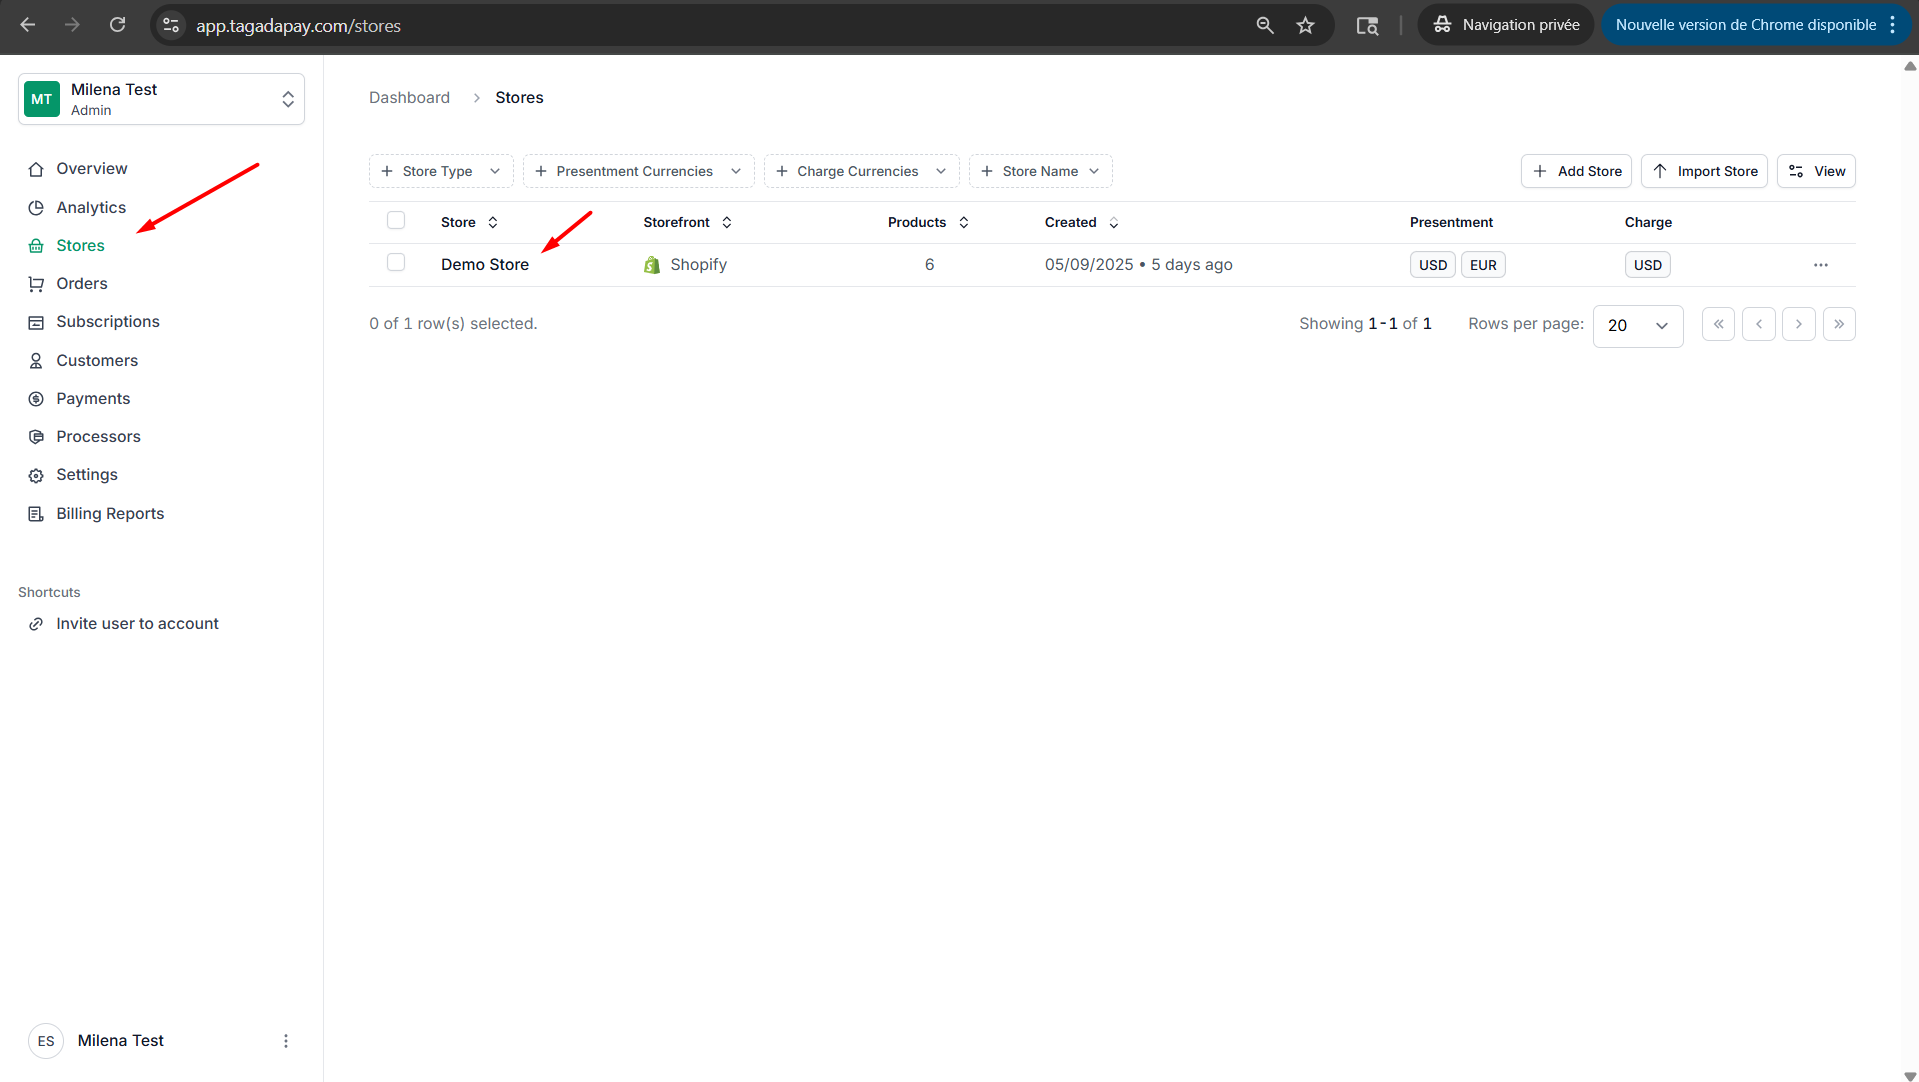
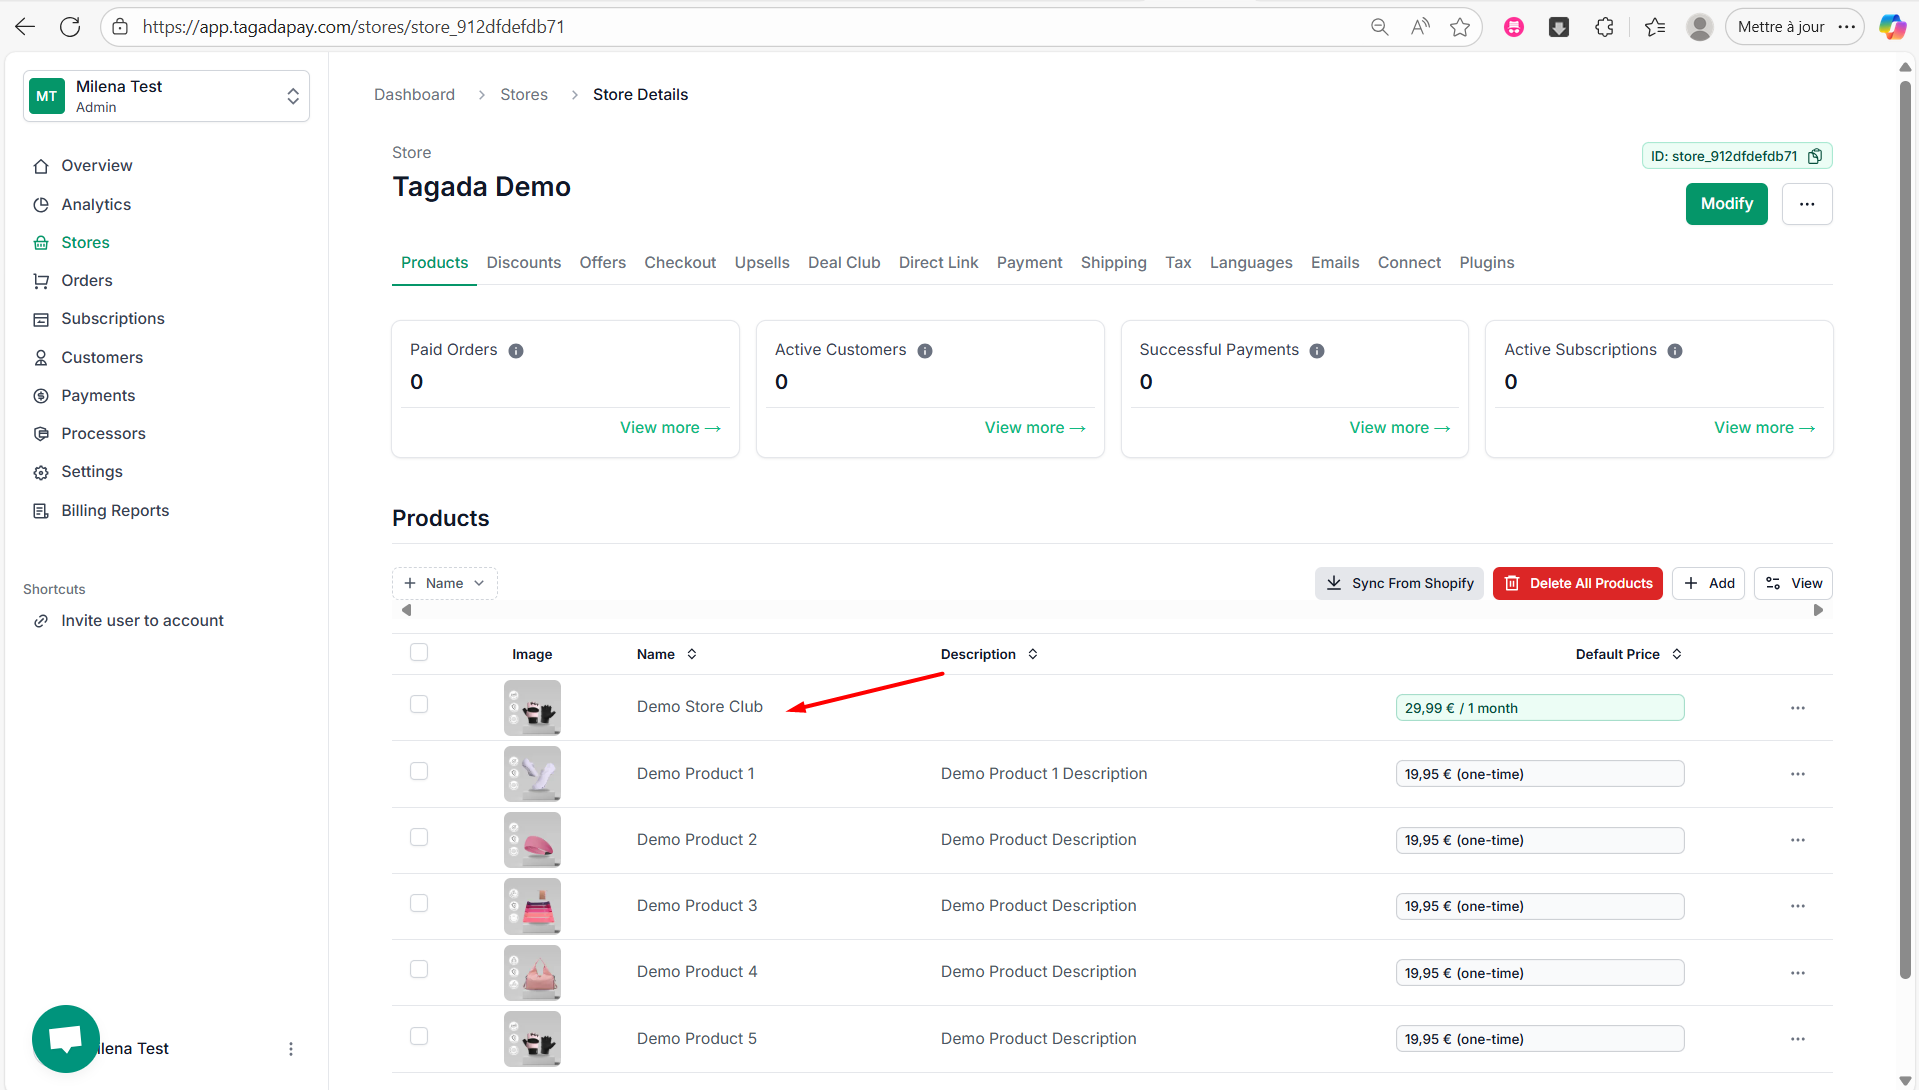
Select the Products tab in the menu and create a recurring product. If you need more explanation, you can <a href='/knowledge-center/getting-started/setting-up-your-recurring-products-with-tagadapay'>check this chapter</a>.
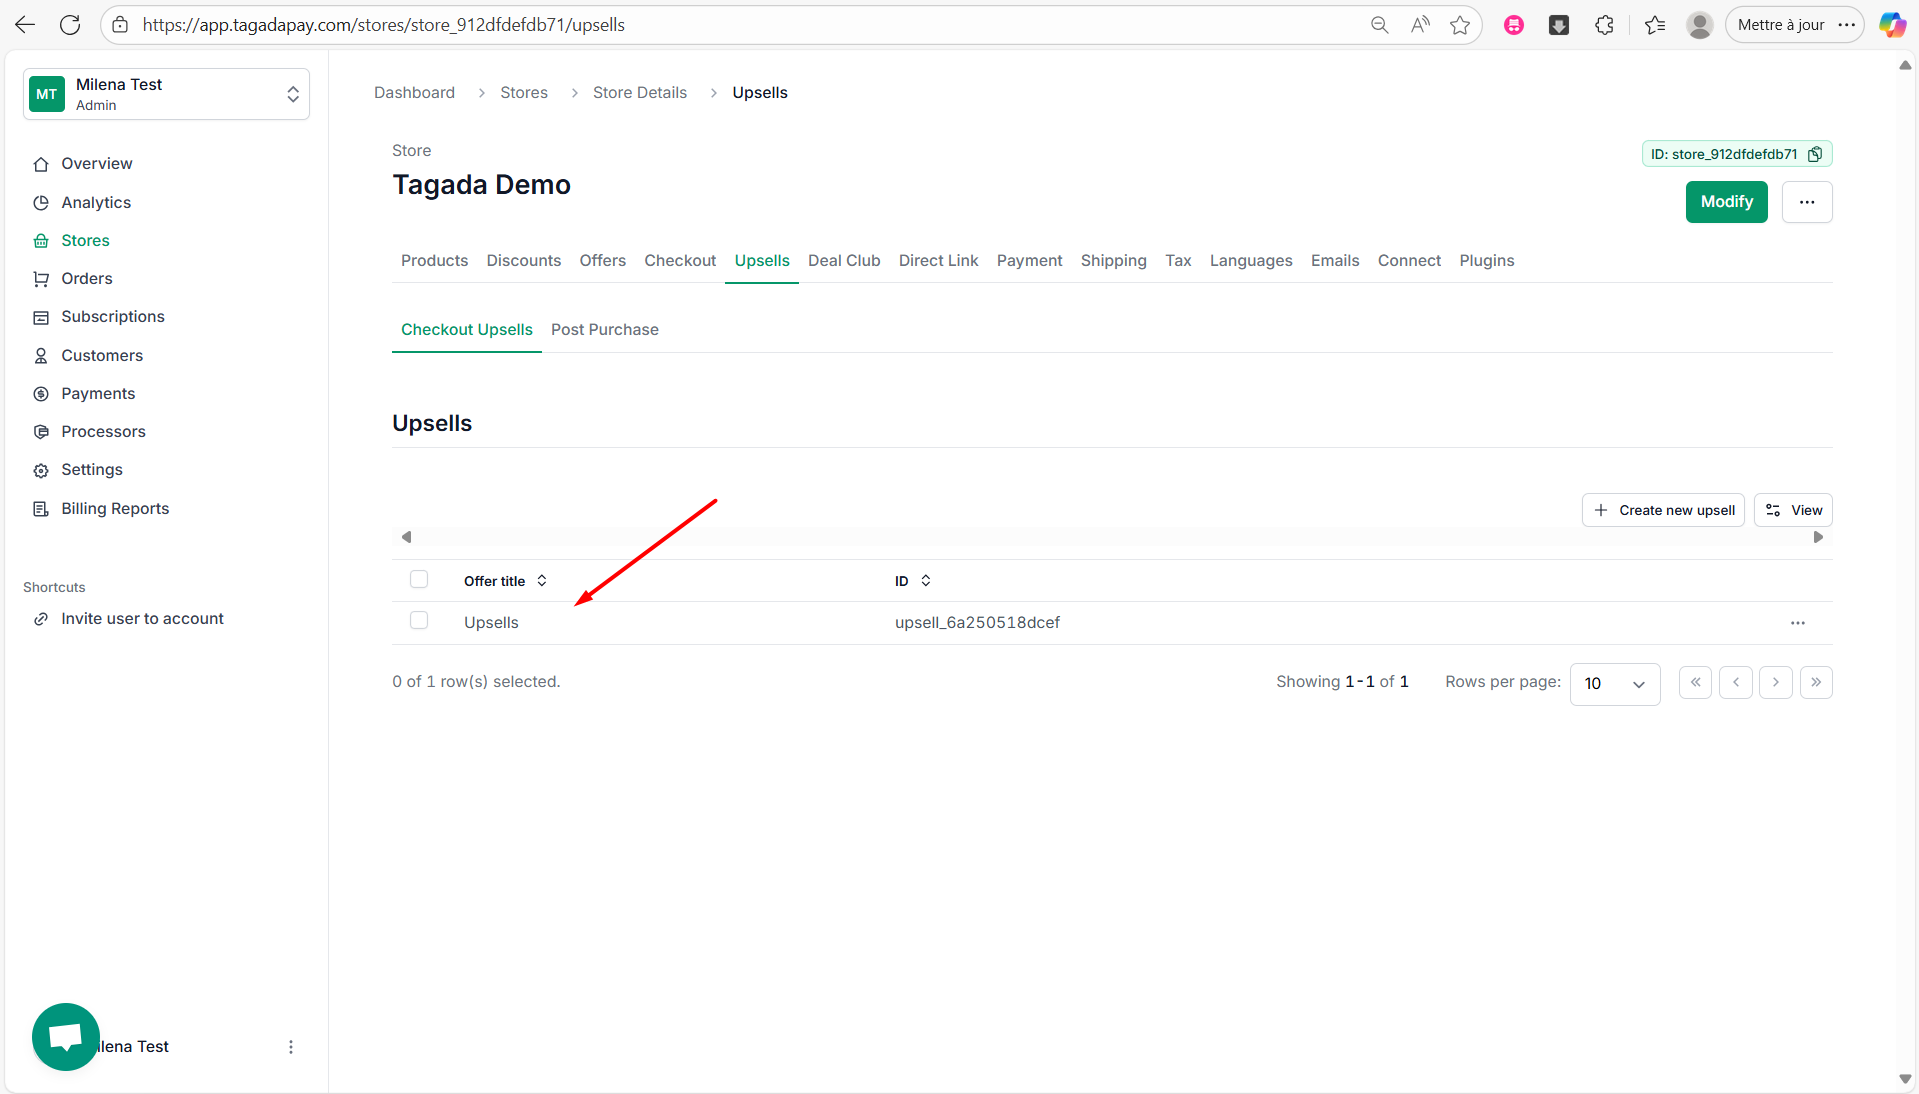
Select the Upsells tab in the menu and create an upsell with the recurring product you have just created. If you need more explanation, you can check this chapter https://docs.tagadapay.com/knowledge-center/misc/setting-up-order-bump-upsells-always-show-the-up.
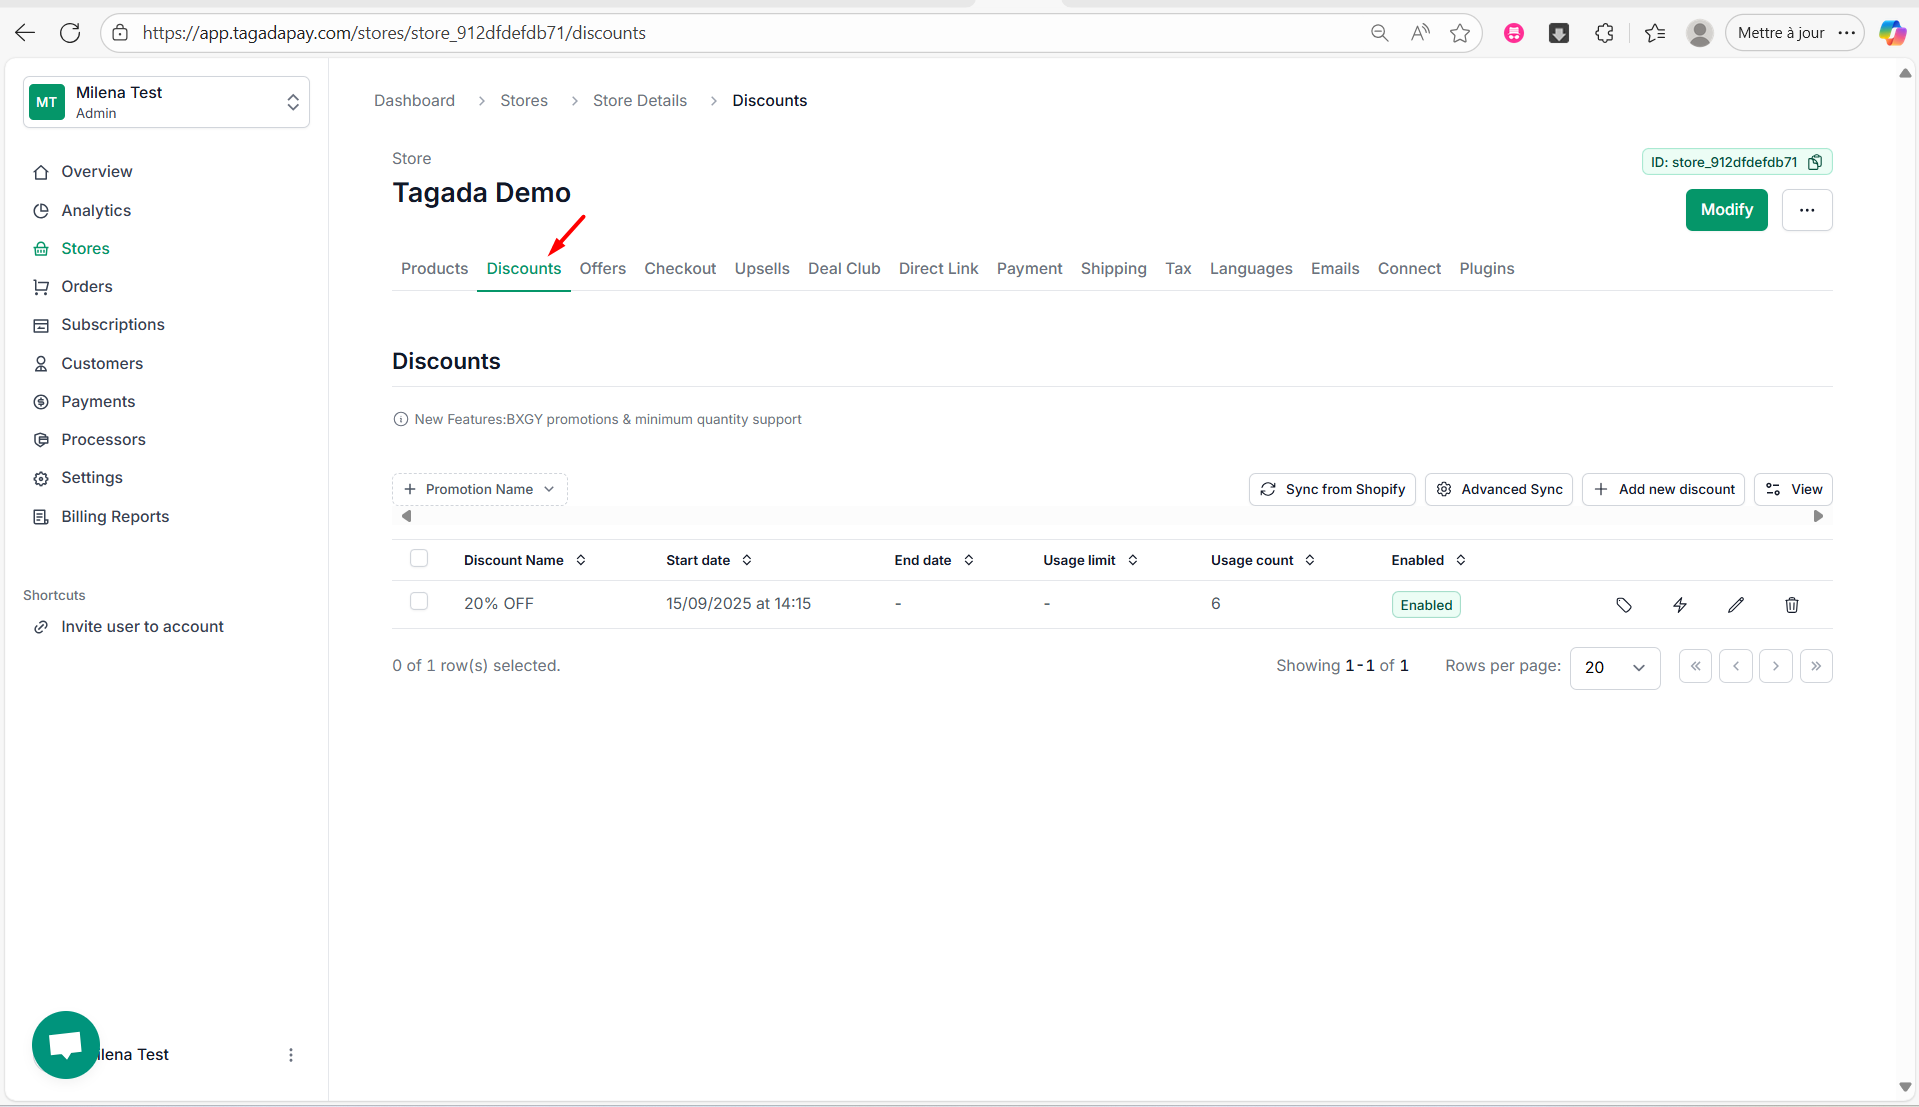
In case you would like to add a free trial period for your subscription, you would need to add a discount for it. Select the Discounts tab in the menu and create a discount for your upsell. If you need more explanation, you can check this chapter https://docs.tagadapay.com/knowledge-center/discounts-offers/how-to-create-a-discount
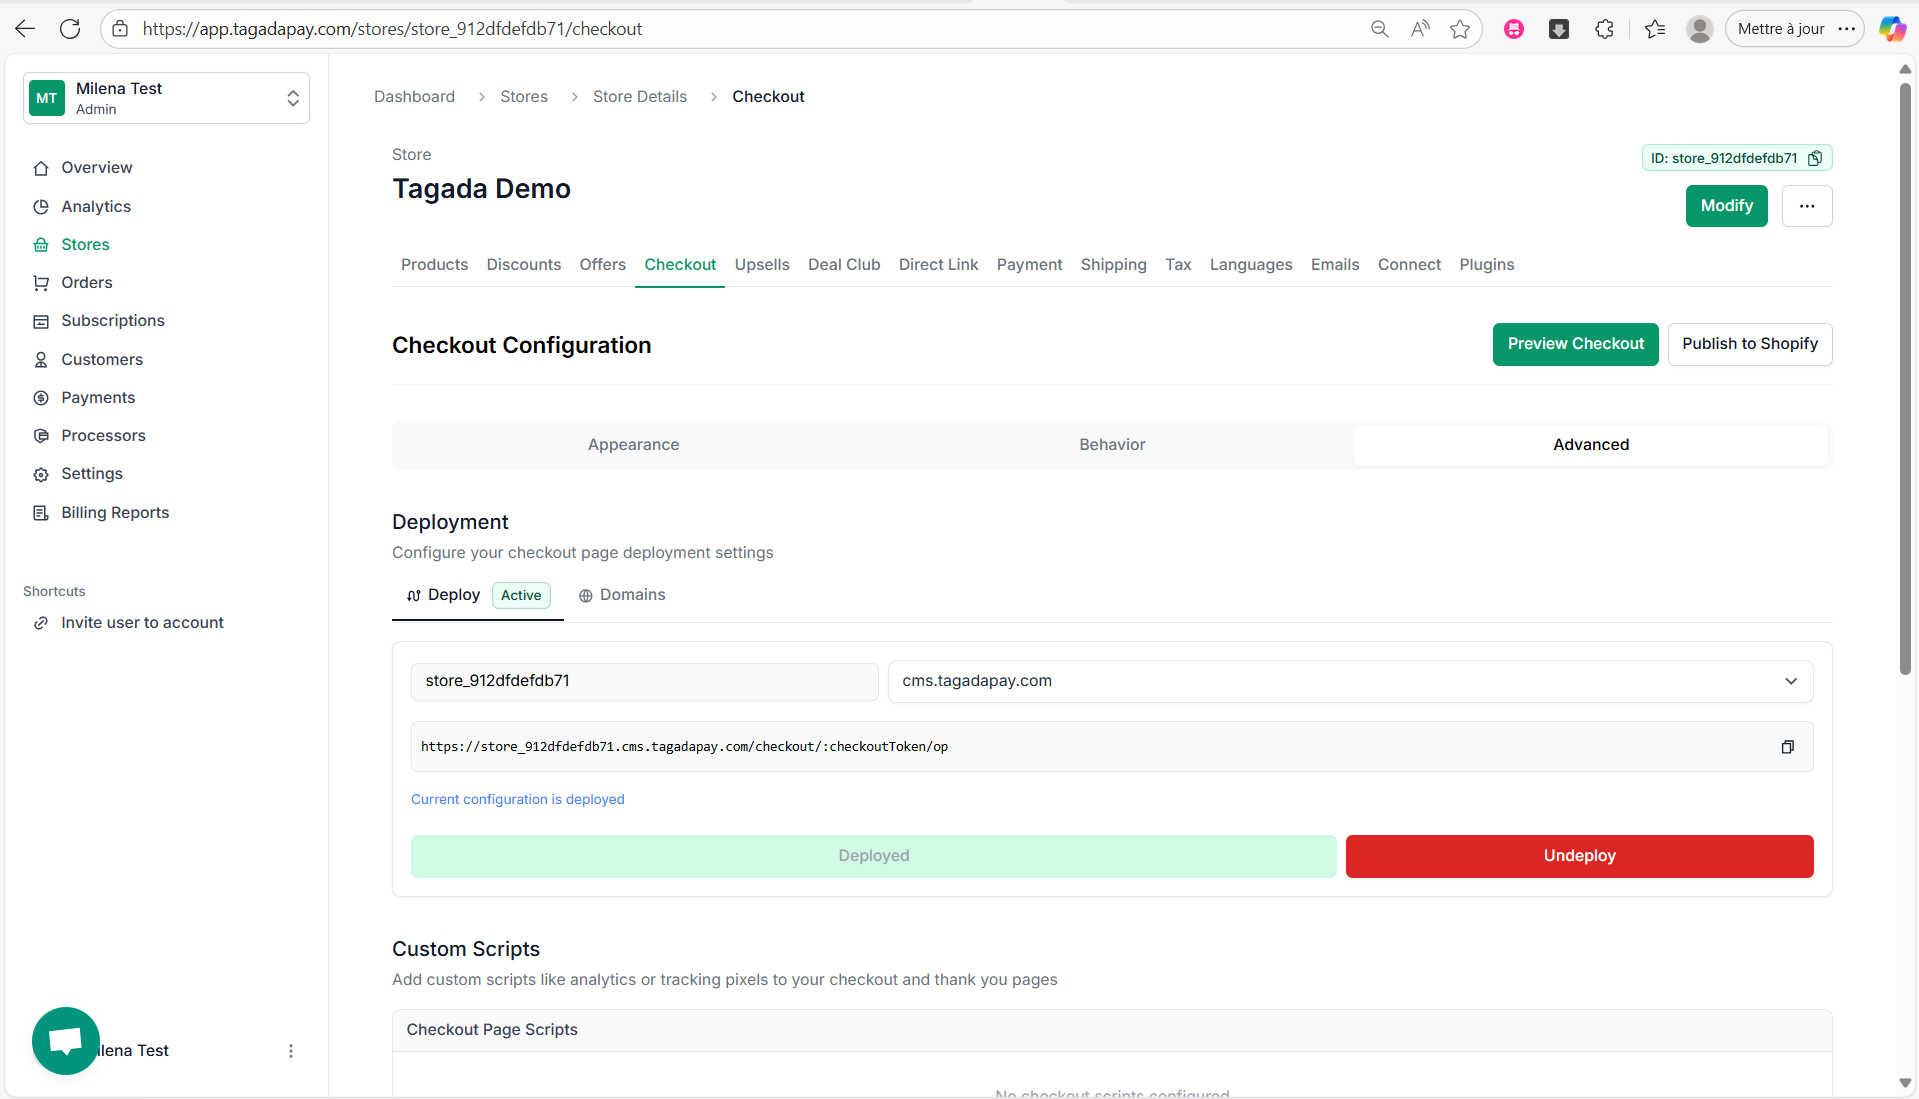
Deploy your checkout and add a custom checkout domain if needed. You can check this chapter for more detailed explanation on how to do it: https://docs.tagadapay.com/knowledge-center/checkout-configuration/deploying-your-checkout
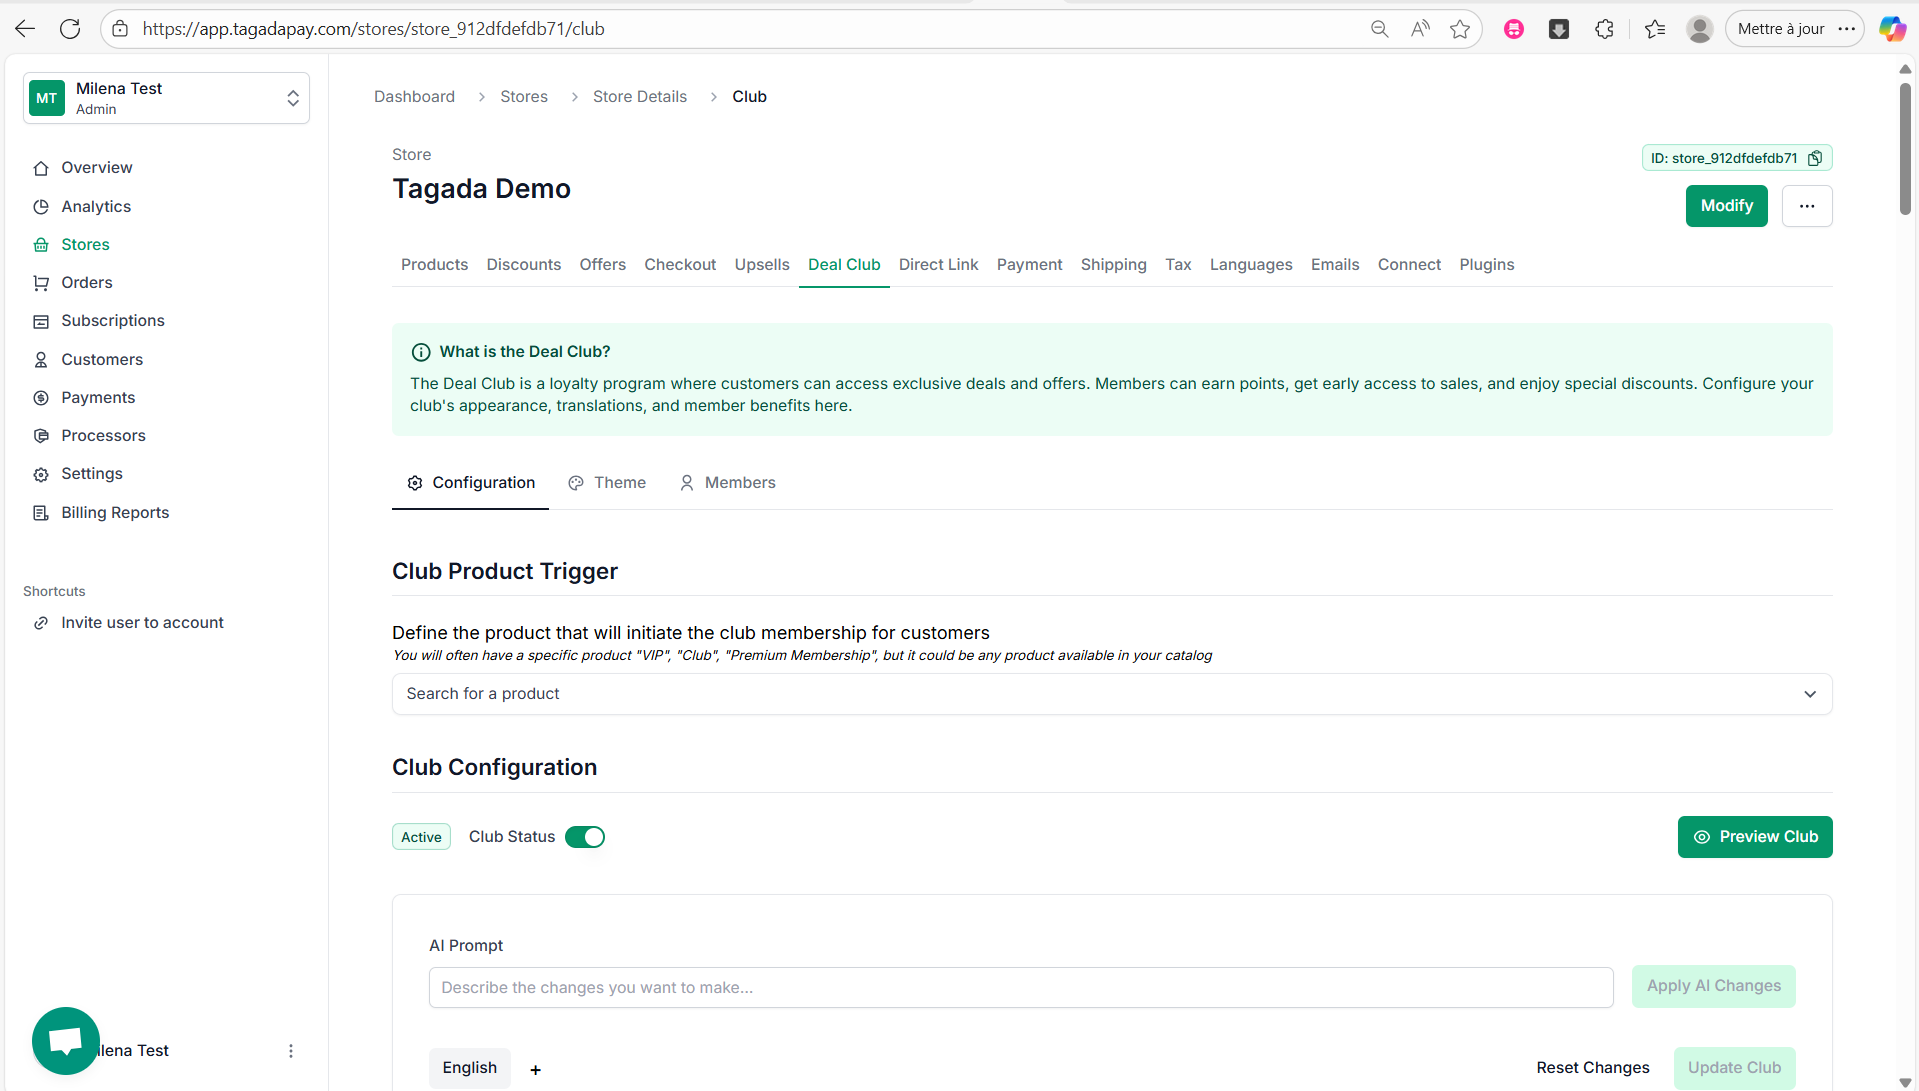
Select the Deal Club tab in the menu and activate your deal club. For more detailed information on how to do this visit https://docs.tagadapay.com/knowledge-center/deal-club/creating-a-deal-club. Select your recurring product that you have created above.
Go to languages to modify or remove the wording from the checkout that you don't need. You can find more detailed instructions here https://docs.tagadapay.com/knowledge-center/languages/using-languages-feature-to-edit-checkout-fields.
