1

Select your desired store under Stores.

image.png
2

Select Checkout and click on Deploy.

image.png
3

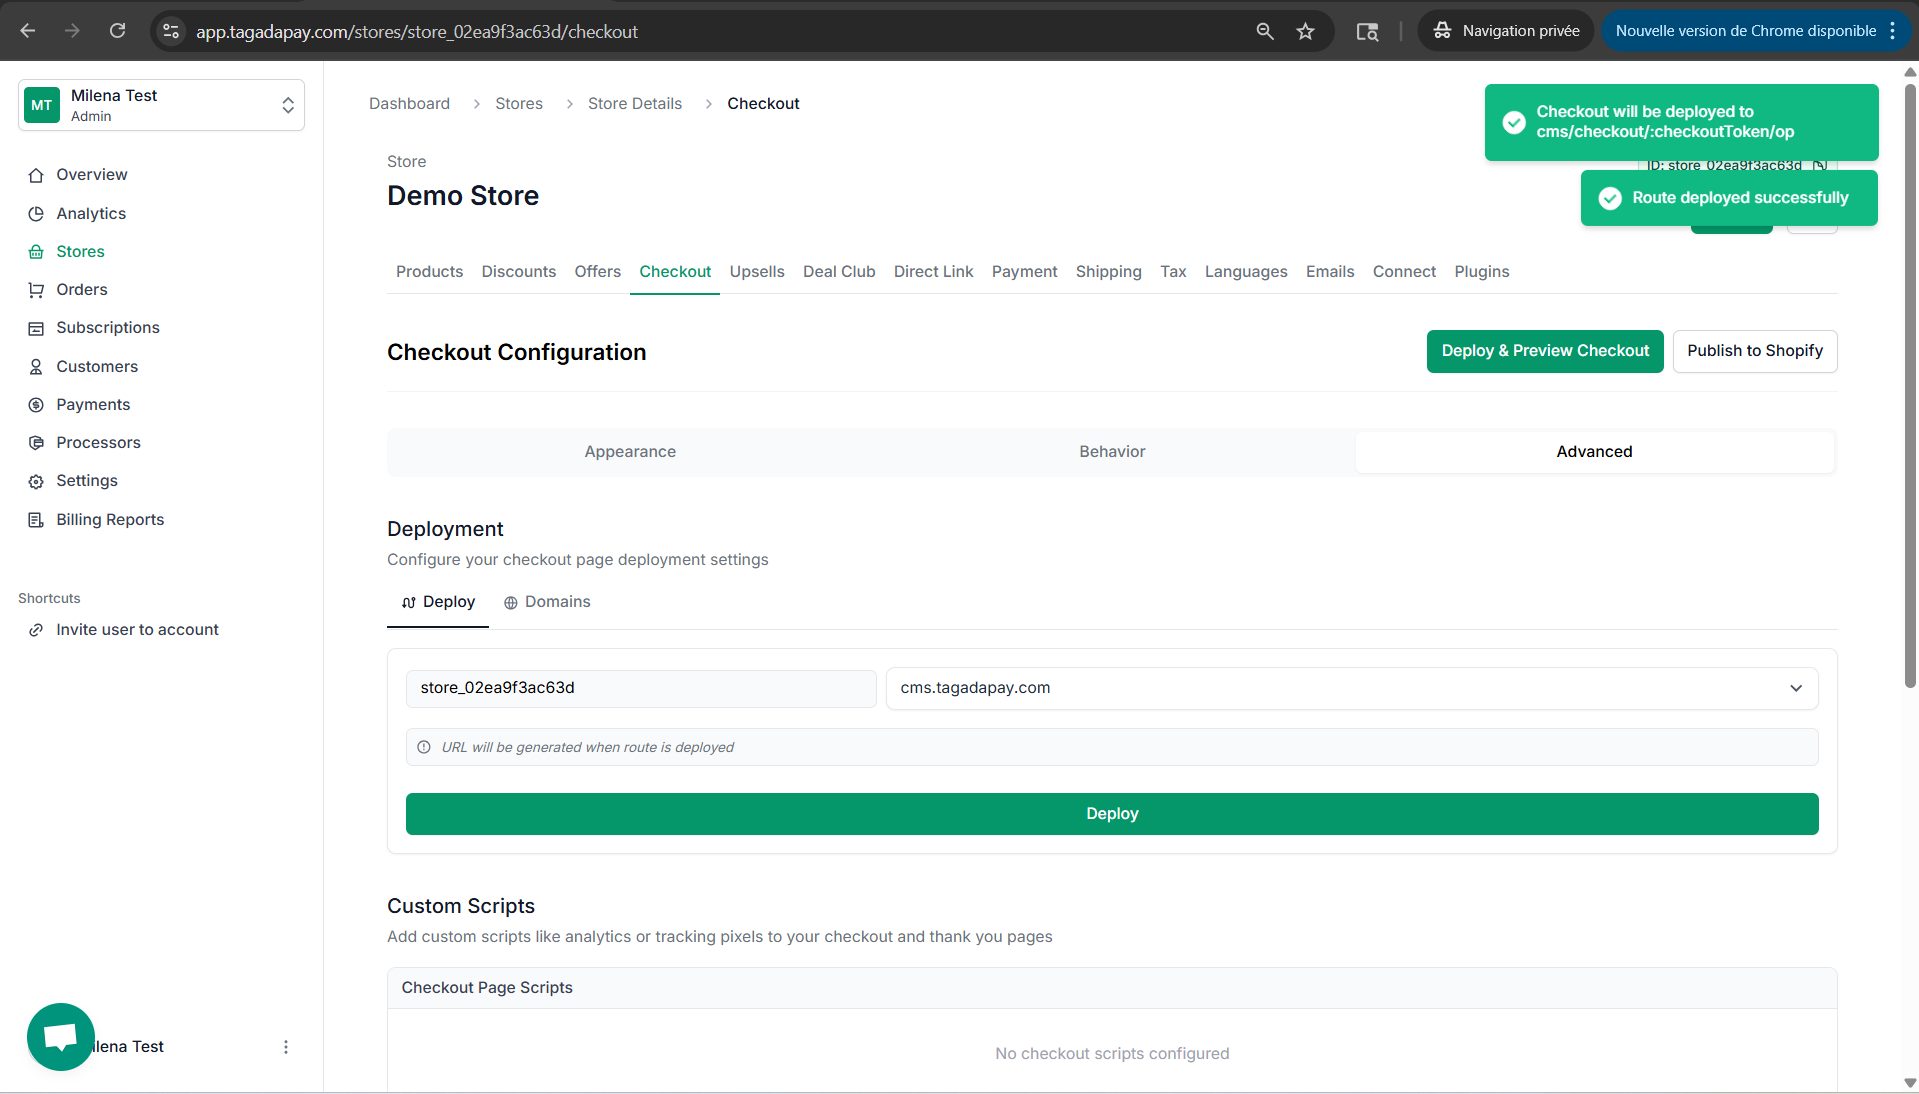
Two green notifications will appear in the top-right corner to confirm that the deployment was successful.

image.pngIn the next chapter, you’ll learn how to preview your checkout.
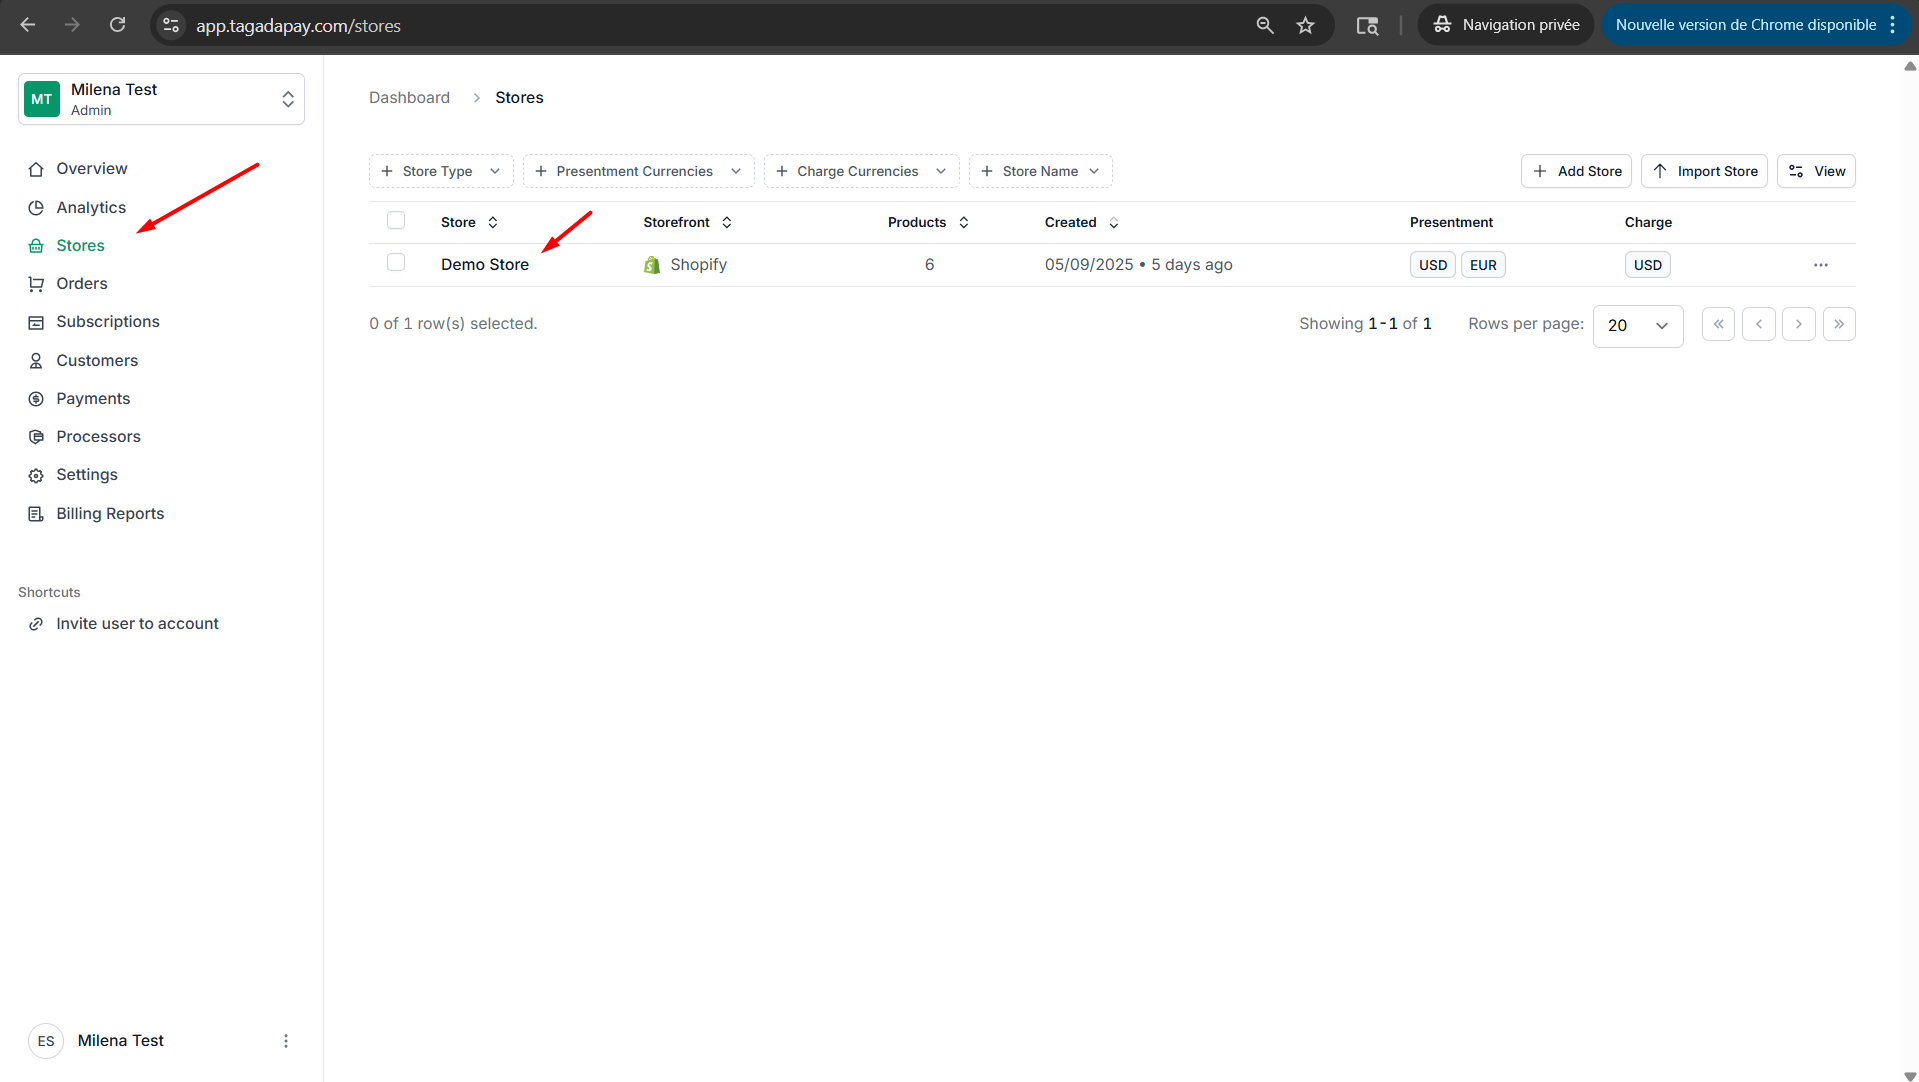
To preview and publish your checkout, you first need to deploy it. Deploying does not mean it’s published — it simply means the checkout flow has been created and is ready for testing or further customization. By default, your checkout will be accessible via a Tagadapay URL, meaning you won’t have a custom domain at this stage. However, you will have the option to set up a custom domain later if desired.